
KURTZ AIRADELICS’ COCKPIT
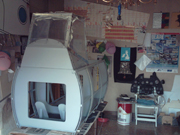
Kurtz Airadelics’ aim is to build cockpits which are at the same time reasonable cockpit platforms, strong and easy to manage, and objects giving you the impression that a real airplane is just landed in your living-room. Cockpits are not supposed to be the perfect replica of a particular aircraft for the demanding simmer: they are built for all the lovers of Combat Flight Simulator and IL-2 who want to switch on their PC and pilot without too many complications. A Kurtz Airadelics’ cockpit is a firm support on which you can set up your monitor, your joystick, your throttle and your rudder pedals. You can play sitting inside a likely cabin equipped with bulkheads, formers, a seat and a windscreen formed by little transparent panels.
|
|
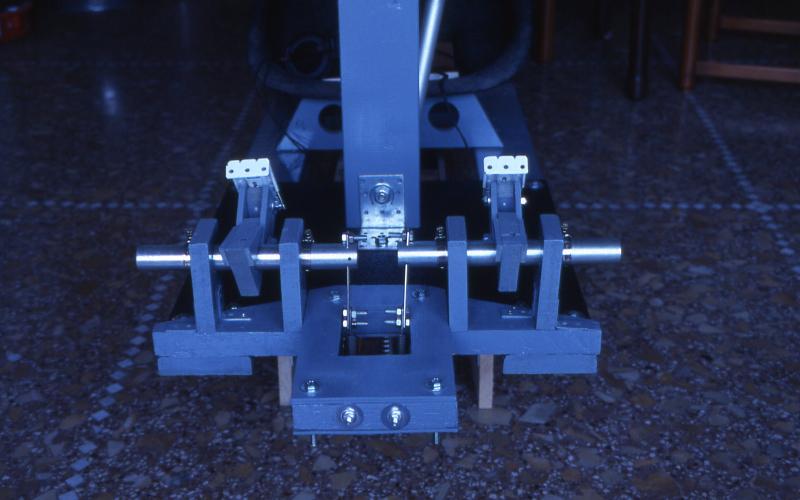
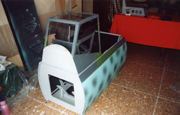
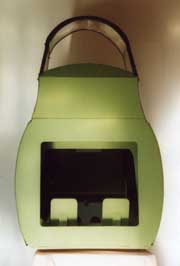
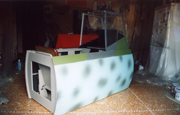
| The cockpit KA00 is partly the result of a challenge to the aeronautical technique and partly a recycling operation, as I used a lot of discarded material. The wooden body comes from pallets: I used them to assemble Mal’Ider, my first landyacht prototype. Later on, they became a basis for a unfinished dragster mock-up. The fibreglass seat belonged to a car, a racing prototype, while the stick came from a hedge cutter. After
the selection of the right material, I started to study the technical
workbooks to reproduce the gears which give you the control of
an aircraft. The stick joint (with its nose-up/dive/turn movements)
was not difficult to reproduce, while the planning and the manufacture
of the rudder pedals with its differential motion was far more
complicated, partly because of the materials at my disposal.
|
   |

|
|
|
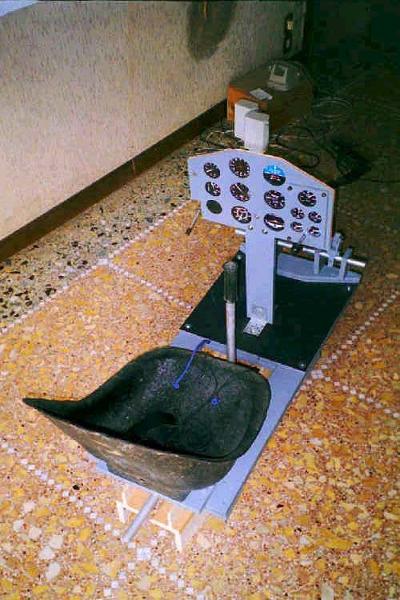
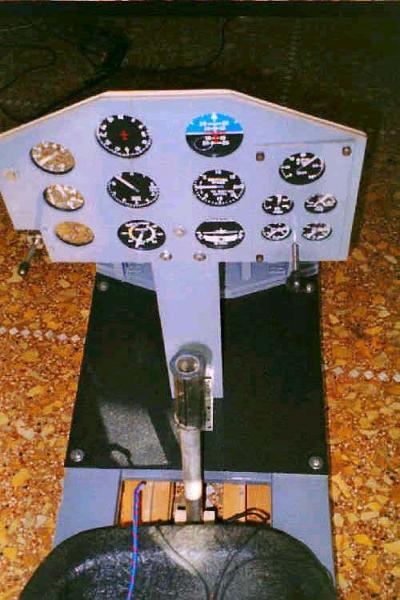
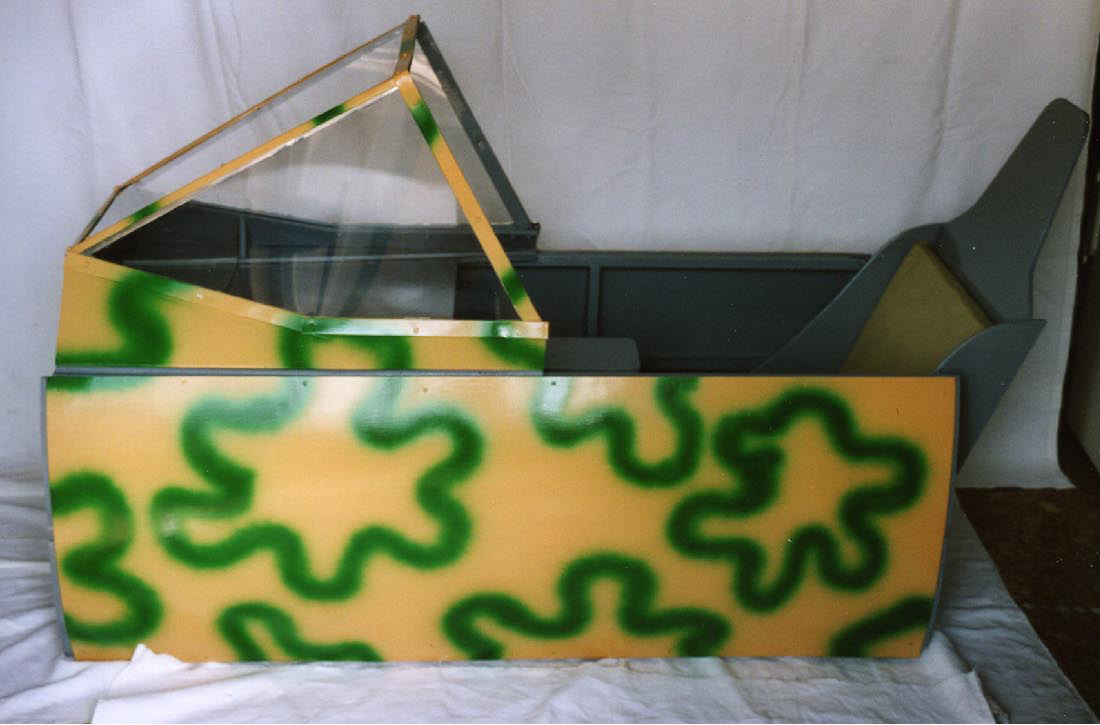
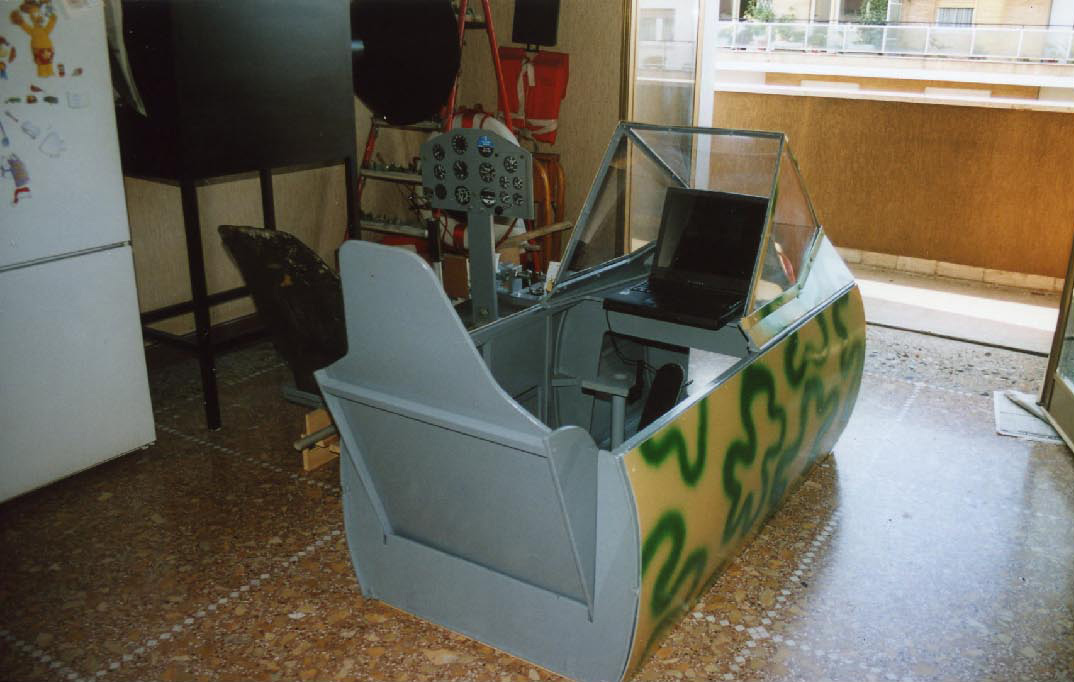
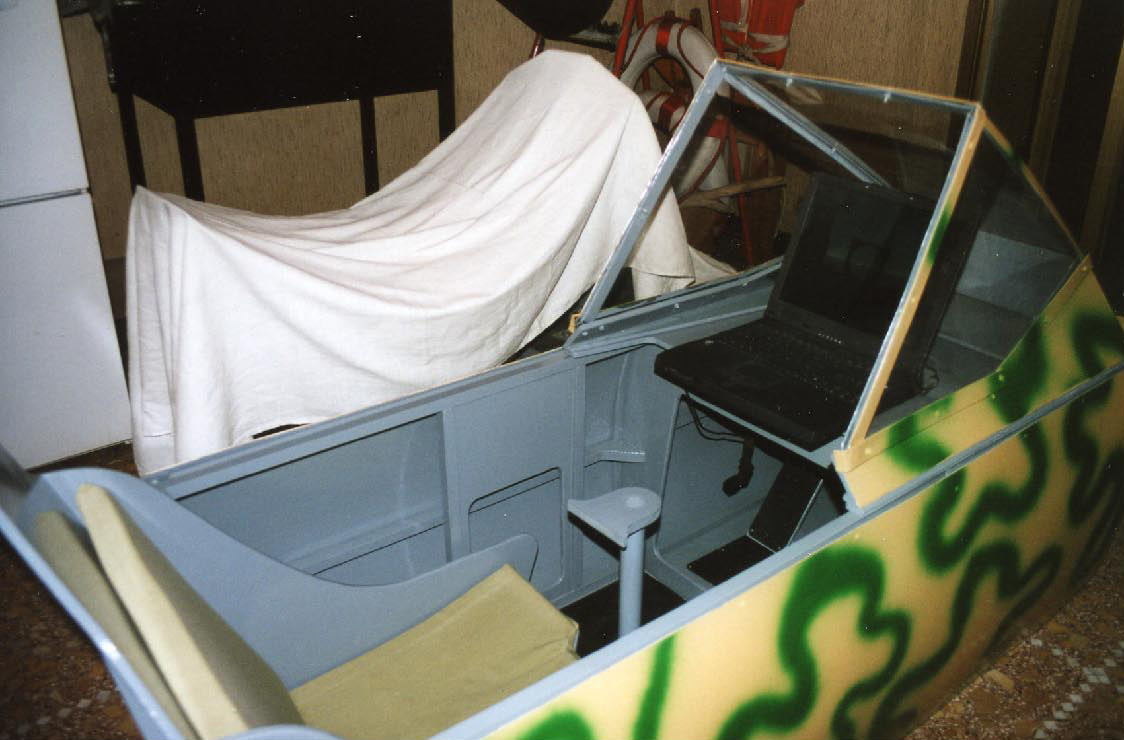
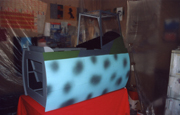
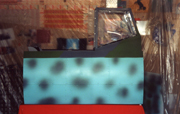
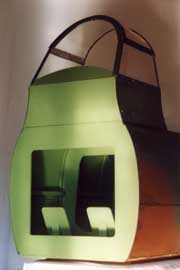
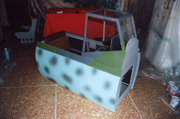
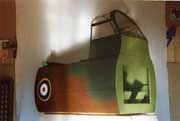
The cockpit KA01 – Macchi C202 has been built to verify the principles of manufacture by practical means. As it had occurred during the making of other pieces of work, for example the Idropoltrona, it was essential to build a light structure in order to have a greater movability both in course of execution and during the transport. I took great care over its dimensions and its ergonomics so as to use only the strictly necessary material. The body and the seat are made of wood and plywood, the latter being used for the covering too.
The background has been painted by brush and the camouflage has been made by air spray. For the camouflage, I chose the colours of the classic livery, sand and spinach. |
   |
|
|||||||||||||||||||||
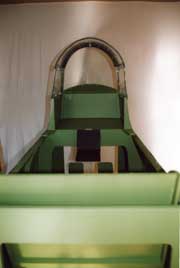
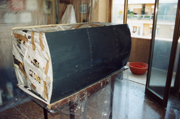
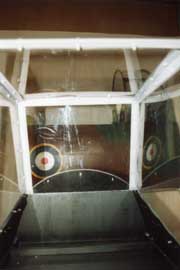
| The
cockpit Messerschmitt Bf. 109 represents the natural development
of the Macchi. Its general dimensions have been adjusted and the
result was the possibility of having a more compact and shorter
body (about 20 cm) and a greater habitability. Besides, I made
improvements in the combination of bulkheads and formers, which
facilitated the laying of the covering. The column of the stick,
which was fixed in the Macchi, has been replaced with a folding
support. The windscreen, built with the same materials and using
the same technique, was inspired by the Bf. 109 and it turns out
to be more solid. As for the covering, I abandoned the sole 4-mm
plywood board for 2-mm crylex panels (four panels on each side)
which have been fastened on the striker of the bulkheads. What
I got is a smooth and level surface fit for spray painting. This
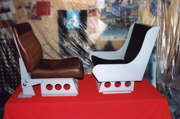
time I used water colours, RLM 65, 82 and 02. As for the seat,
there are two options: the first one follows the element built
for the Macchi, with the seat and the little side walls, while
the second one has a plywood frame on which I set the original
cushions of the AB 206 helicopter. With this kind of seat,
which is a little bit heavier than the standard one, the whole
cockpit weighs a little less than 30 kilos.
|
      |
||||||||||||||||||||
|
|||||||||||||||||||||
|
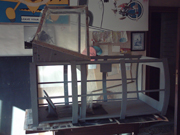
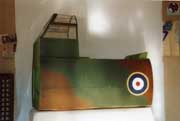
once
you have a Bf 109 at home, how could you resist temptation to
put a Spitfire next to it, just to recreate the atmosphere bringing
us back to the Battle of Britain? Its structure is basically a
copy of the Messerschmitt’s, I further simplified the method
to fix the panels to the frames, while I made the throttle support
using a plywood box-shaped element. It was essential to make the
two opposing fighters look different so its canopy has a softer
and more rounded contour, because of the upper transparent component
as well, which is a complete contrast to the squared structure
of the Bf 109. As to its camouflage, I painted it dark earth /dark
green with national markings, then some work for weathering and
shading adding scrapings, dirt and oil in the engine area.
|
|
||||||||||||||||||||

N.B. All paints are Rover satin water-enamels, unless otherwise stated. Some paints are different from the original ones because the Federal Standard Charts do not match the RAL codes (for further information see the very detailed Colour Reference Charts in www.ipmsstockholm.org and the Humbrol Enamel Cross Reference Charts conversion tables). Sometimes it was only a matter of expediency: the possibility of using some paints as bases to which adding different colours; the decision to employ a little bit lighter paint to make the Spitfire look like a real plane; the apparent uselessness to buy a can of the original blue paint for the R.A.F. national markings when a similar paint can be used both for that little circle and for a future F4U Corsair sim.